
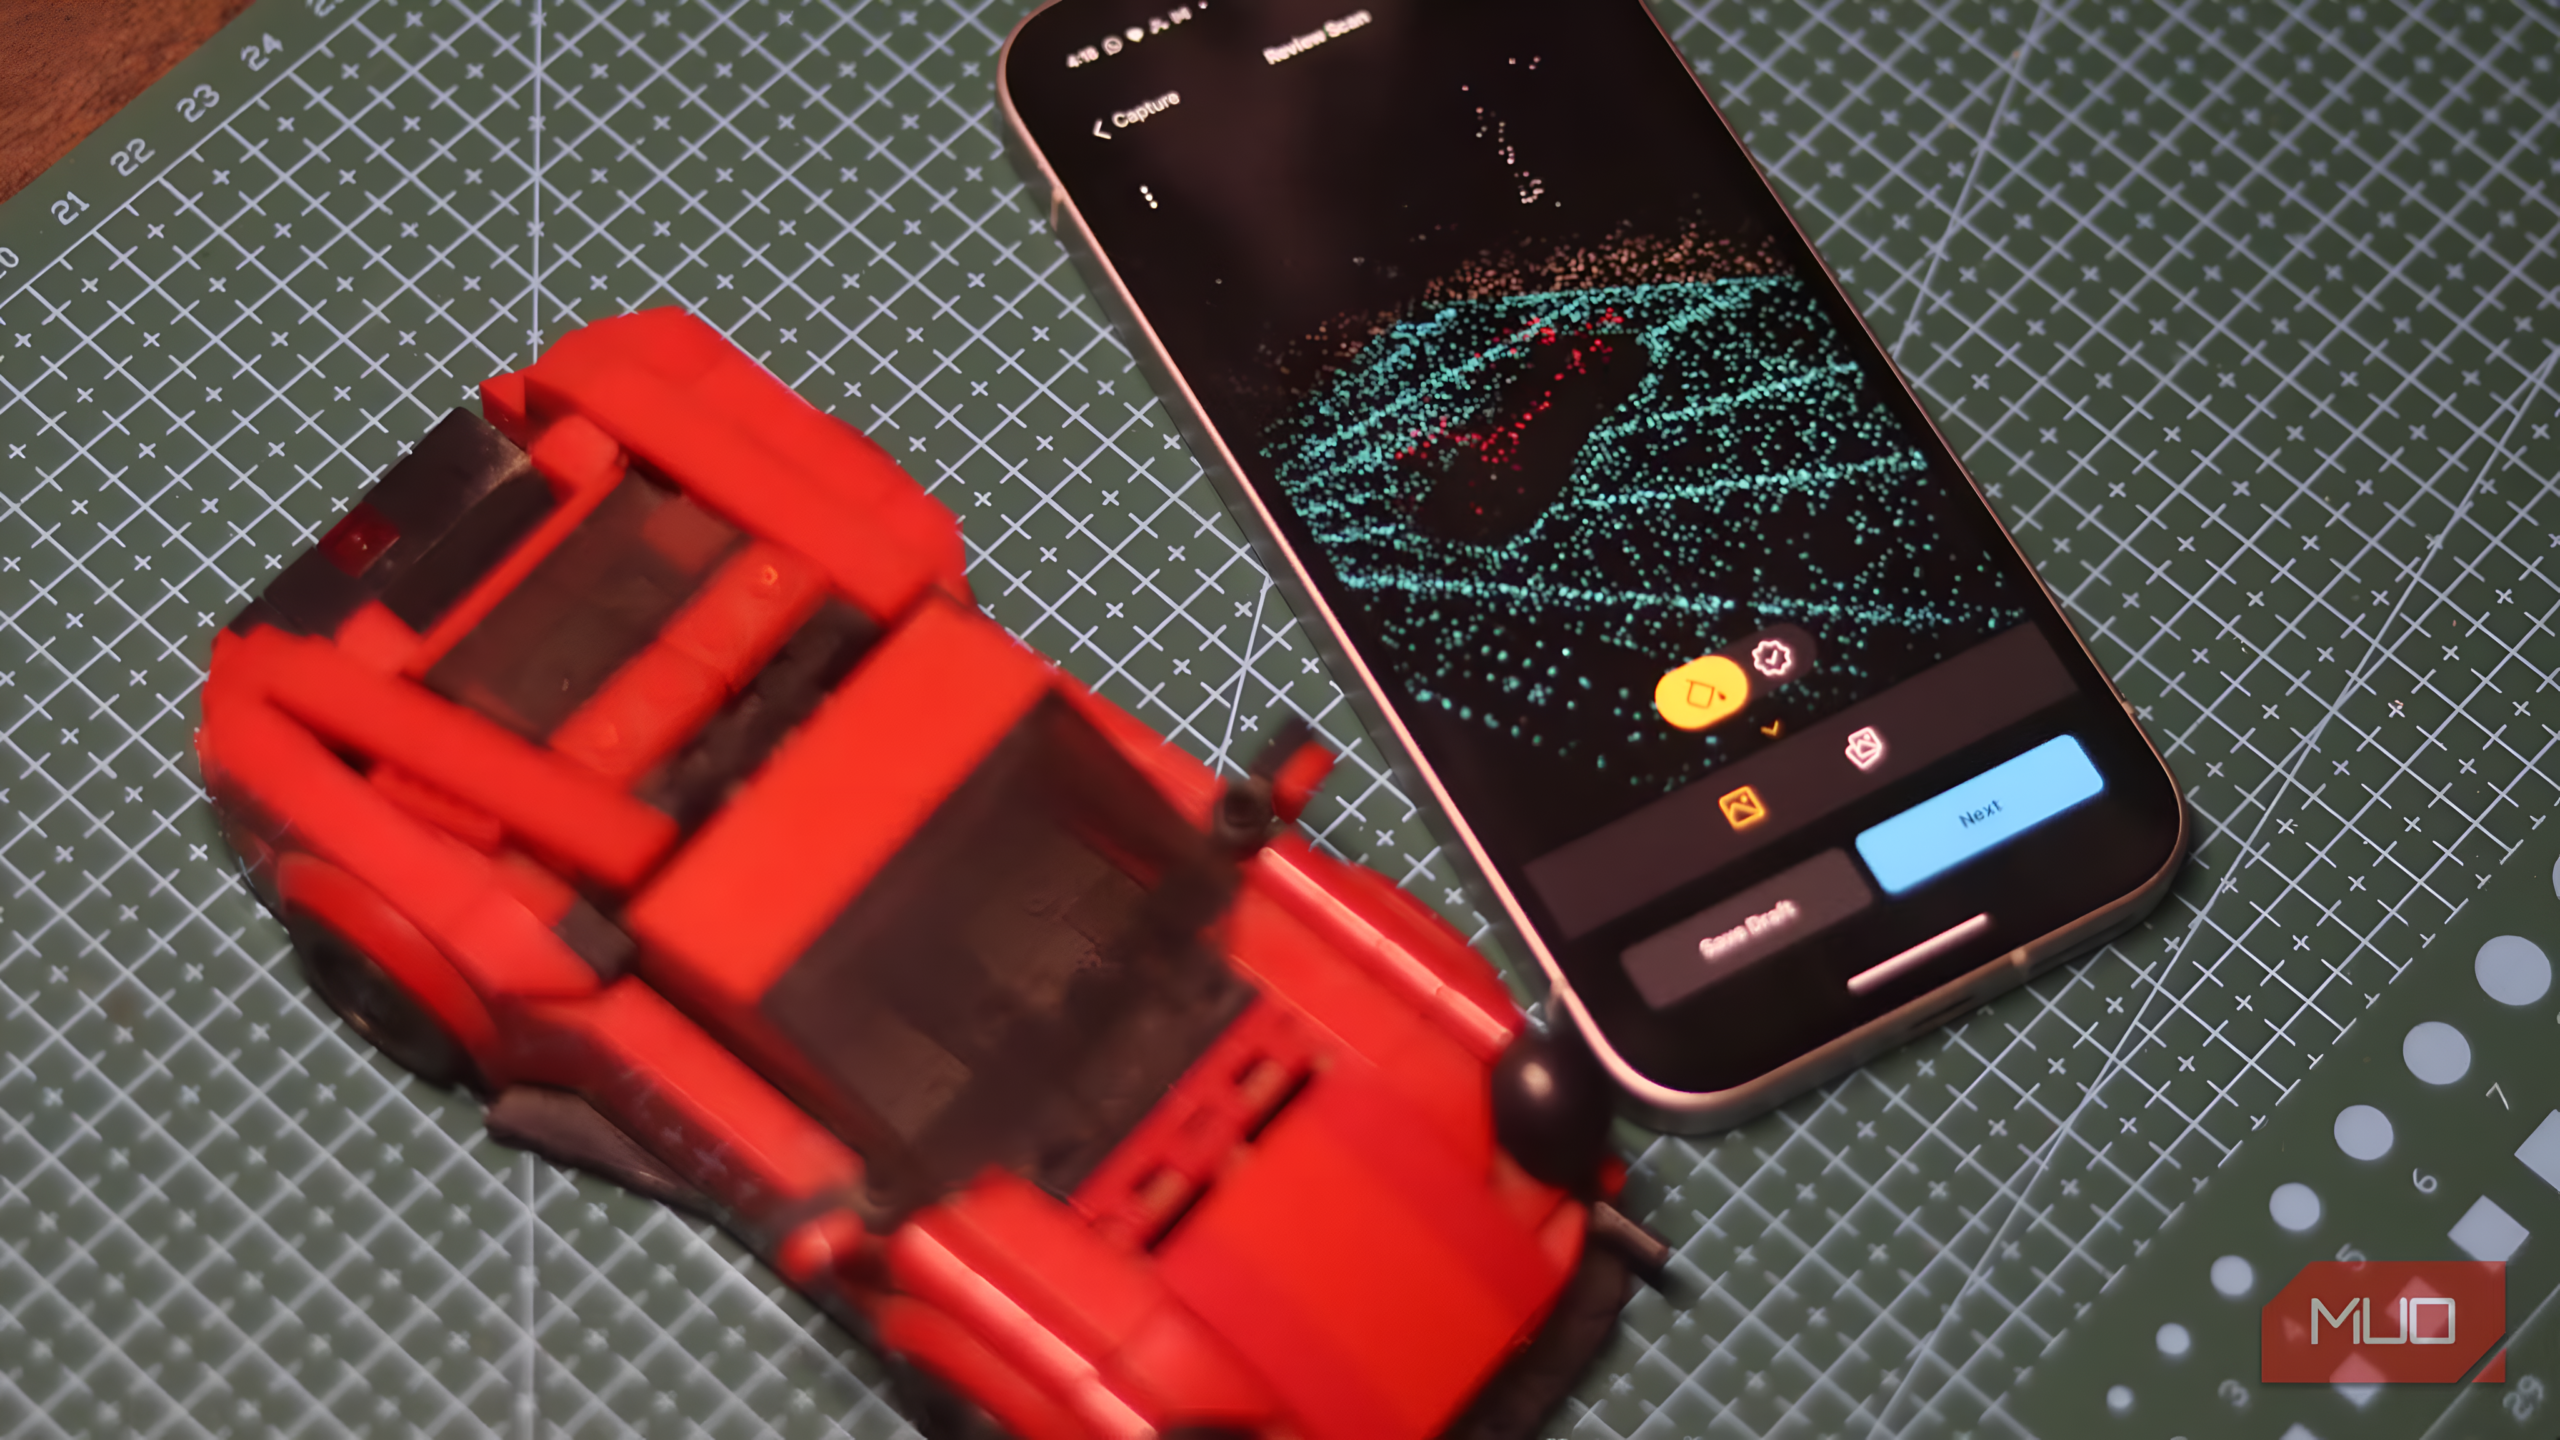
Modern smartphones have quietly turned 3D scanning from a tool locked behind professional workflows into something anyone can genuinely pull off. Want to duplicate a household item? Preserve a collectible? Fabricate a replacement part? Your phone’s already capable. You just need to know how to use it.
Table of Contents
ToggleThis guide walks through the full workflow, from capturing a clean scan to producing a finished print, using free or freemium tools that actually work.
What Is Phone-Based 3D Scanning?
Phone-based 3D scanning takes photographs or depth data and converts them into a digital three-dimensional model.
Instead of drawing something from scratch in CAD, the phone reconstructs an object’s geometry by analyzing dozens, or even hundreds, of images shot from different angles. Phones with LiDAR sensors go a step further and capture depth information directly. That makes the whole process noticeably faster. (unrealengine.com)
Once you’ve got the finished model, you can do quite a bit with it:
- Export as STL
- Edit in Blender
- Pull it into CAD software
- Share it online
- Send it straight to a 3D printer
How Smartphone 3D Scanning Works
Two technologies power most of this. They work very differently.
1. Photogrammetry
The phone captures many overlapping photographs.
Software then identifies common reference points across all those images and reconstructs a complete 3D mesh from them.
Advantages:
- Works on nearly every smartphone
- Excellent surface detail
- Completely free with several apps
Disadvantages:
- Requires a lot of photos
- Processing takes longer
2. LiDAR Scanning
Available only on selected premium smartphones.
Rather than estimating depth from photos, the device fires infrared light and measures actual distances. No guessing involved.
Advantages:
- Faster scanning
- Better room-scale capture
- More accurate real-world dimensions
Disadvantages:
- Limited to compatible devices
- Still performs best on objects with visible surface texture
Best Free Apps to Scan Objects Into 3D Models
| App | Android | iPhone | Free Version | Best For |
|---|---|---|---|---|
| RealityScan | ✓ | ✓ | Yes | Beginners |
| Polycam | ✓ | ✓ | Limited | High-quality scans |
| KIRI Engine | ✓ | ✓ | Yes | Photogrammetry |
| Scaniverse | ✗ | ✓ | Yes | LiDAR users |
| Luma AI | ✓ | ✓ | Limited | AI reconstruction |
Which Phones Produce the Best Results?
Excellent
- iPhone Pro models with LiDAR
- High-end Android flagships
Very Good
- Mid-range Android devices
- Standard iPhones
Good Enough
Honestly, almost any smartphone from the last five years can generate printable models through photogrammetry. The hardware bar isn’t as high as people assume. (Dreaming3D Inc)
Step-by-Step Guide to Scan Any Object
Step 1: Choose the Right Object
Ideal candidates include:
- Shoes
- Toys
- Sculptures
- Rocks
- Decorations
- Mechanical parts
- Household tools
Avoid these. Seriously.
- Mirrors
- Glass
- Transparent plastic
- Reflective metal
Step 2: Prepare Good Lighting
Use:
- Soft daylight
- Diffused indoor lighting
Avoid:
- Harsh shadows
- Direct sunlight
- Flash photography
Step 3: Place the Object
Set the object on:
- A plain table
- A rotating stand (optional but helpful)
- A textured surface that gives the software something to track
Step 4: Walk Around Slowly
Capture photos every few degrees.
Aim for:
- 70 to 80% overlap between consecutive shots
- Three distinct height levels (low, middle, high)
- Somewhere between 50 and 150 images, depending on how complex the object is
Step 5: Let the App Process
The application reconstructs:
- A point cloud
- A mesh
- Surface texture
Cloud processing can take several minutes. It depends on how many images you captured and how fast your connection is.
Recommended Capture Pattern
flowchart TD

A[Place Object] --> B[Capture Front]
B --> C[Walk Around]
C --> D[Capture Side Angles]
D --> E[Capture Rear]
E --> F[Capture Top]
F --> G[Upload Images]
G --> H[Generate 3D Mesh]
H --> I[Clean Model]
I --> J[Export STL]
J --> K[Slice Model]
K --> L[3D Print]
Cleaning the Scan
Raw scans are rarely clean. They typically include:
- Floating geometry
- Holes
- Noise
- Background elements that crept in
Most scanning apps give you basic tools to handle this:
- Crop
- Trim
- Smooth
- Fill holes
For anything more involved, these are the go-to options:
- Blender
- Meshmixer
- MeshLab
Cleaning the mesh before export makes a real difference in print quality. Don’t skip it. (polyvia3d.com)
Exporting as STL
STL is the standard format for 3D printing. That’s just where the industry landed.
Other formats you might encounter:
- OBJ
- FBX
- PLY
- GLB
If your app exports OBJ or PLY instead, you can convert or edit the file before sending it to the printer. Not a big deal.
Preparing the Model for Printing
Import the STL into a slicer. Good options include:
- Cura
- OrcaSlicer
- PrusaSlicer
- Bambu Studio
Then configure:
- Layer height
- Infill percentage
- Supports
- Print speed
- Material type
Export the G-code when you’re satisfied with the settings.
Best Filaments
PLA
Best for:
- Decorative models
- Beginners
- Indoor use
PETG
Best for:
- Functional parts
- Objects that live outdoors
- Stronger prints generally
ABS
Best for:
- Heat-resistant applications
- Durable engineering components
Worth noting: ABS needs an enclosed printer to work properly.
Common Scanning Problems
Missing Surfaces
Cause:
Not enough photographs were taken.
Solution:
Go back and capture more images from additional height positions.
Floating Geometry
Cause:
Background objects got pulled into the reconstruction.
Solution:
Crop the model before exporting. Get rid of anything that isn’t the target object.
Holes in the Mesh
Cause:
Certain angles were never photographed, so the software had nothing to work with there.
Solution:
Rescan from the missing angles, or patch the holes using mesh editing software.
Blurry Details
Cause:
Camera movement during capture.
Solution:
Walk more slowly. Keep the object in focus the whole time.
Best Objects for Phone Scanning
Excellent candidates:
- Shoes
- Helmets
- Statues
- Figurines
- Sculptures
- Tools
- Furniture
- Plants
- Decorative items
- Automotive trim pieces
- Replacement plastic parts
Difficult Objects
These require extra preparation before scanning:
- Chrome surfaces
- Glass
- Mirrors
- Transparent bottles
- Polished metal
- Glossy ceramics
- Black reflective plastics
A removable matte scanning spray or temporary powder coating does a surprisingly good job on reflective surfaces. It’s a workaround that actually works.
Professional Tips for Better Results
- Capture far more photos than you think you’ll need.
- Keep lighting consistent from start to finish. Don’t let it shift.
- Watch out for moving shadows.
- Walk smoothly. Jerky movement causes problems.
- Hold a constant distance from the object throughout.
- Use textured backgrounds so the software has reference points to track.
- Clean the mesh before printing, not after.
- Scale the model accurately before slicing.
- Print a small test version before committing to the full-size object.
Practical Uses for Phone 3D Scanning
In practice, this workflow shows up in a lot of different contexts:
- Reverse engineering
- Replacement part fabrication
- Product prototyping
- Educational projects
- Museum preservation
- Architecture
- Interior design
- Game asset creation
- Digital twins
- Custom gifts
- Cosplay accessories
- Hobby modeling
Frequently Asked Questions
Can every smartphone create a printable 3D model?
Yes. Nearly any recent smartphone can produce printable models through photogrammetry. That said, devices with LiDAR capture depth faster and with better accuracy than camera-only alternatives. (Dreaming3D Inc)
Is phone scanning accurate enough for engineering?
For hobby projects and general-purpose work, it holds up well. But precision mechanical components are a different story. Those often need dedicated 3D scanners or significant CAD refinement afterward. (3D Search)
Which file format should be used for 3D printing?
STL. It’s the most widely supported format across slicing software and consumer printers. Start there.
Do free apps add watermarks?
Most free tiers allow basic scanning without watermarks. But higher-resolution exports, additional file formats, and advanced editing tools typically sit behind a paid upgrade.
Final Thoughts
Smartphone 3D scanning has genuinely matured. It’s not a gimmick anymore. For makers, educators, designers, and hobbyists, the workflow is real, and the results are usable. With free scanning apps, careful image capture, and a bit of mesh cleanup, turning physical objects into printable digital models at home is entirely within reach. Good lighting, thorough photo coverage, and proper slicer settings can push even a mid-range phone into producing results that would’ve required expensive equipment just a few years ago. The barrier to entry is low. The ceiling is surprisingly high.
